Learn How to Make a Candy Corn Bracelet with Buttons!
Halloween is fast approaching and I must confess, I’m excited. No, I’m not into the creepy scary stuff – I’m just looking forward to the candy! If you love Halloween candy like I do, I know you’ll enjoy making this super sweet candy corn bracelet.
Supplies Needed for Making Candy Corn Bracelet:
buttons
jump rings
cable chain
toggle clasp
20 gauge wire
head pins
glass beads
round nose jewelry pliers
flat nose jewelry pliers
wire cutters
How to Make a Candy Corn Bracelet:
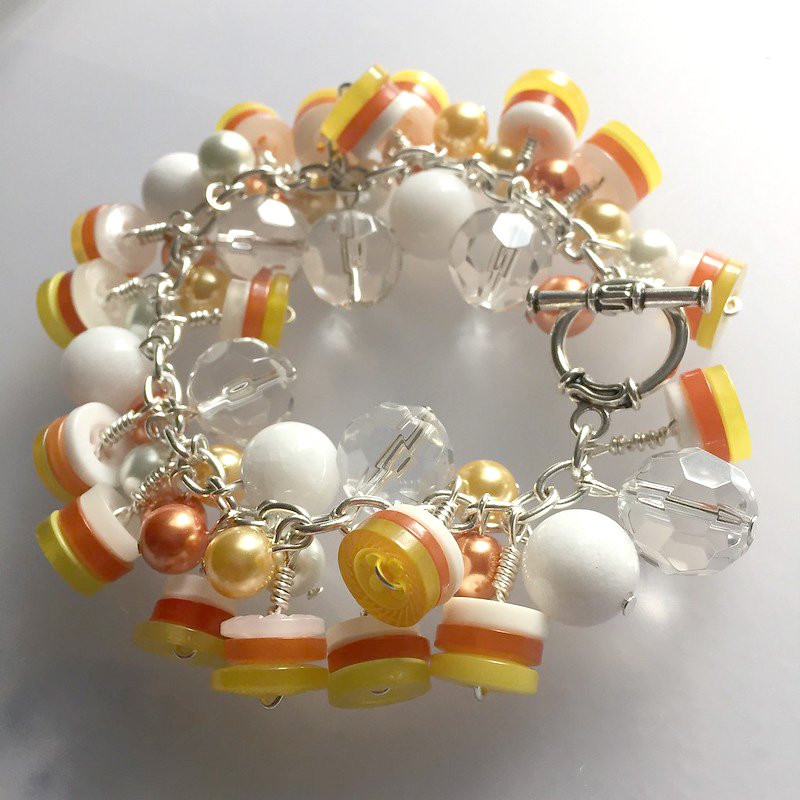
Start your candy corn bracelet by separating the buttons by color and size. You will need to select buttons of a similar size to stack and create little button candy corn charms for your bracelet. Cut a 3-4″ length of wire and gently fold into a ‘U’ shape. Stack buttons with yellow on the bottom, orange in the middle, and white on top. Push the buttons together and twist one end of wire tightly around the other. Trim the excess wire and create a loop using round nose pliers.
Repeat this step a until you have enough to fill your your chain. My bracelet is 7″ and I have attached a button charm to every other link.
After filling the candy corn bracelet with button charms, gather your selection of beads. I am using 10mm yellow, orange, and white glass pearls along with larger clear and white glass beads. Using headpins, add 2-3 beads to each of the remaining empty links in the chain.
Once the bracelet is as full as you’d like, place a jump ring on each end of the chain. Attach the toggle clasps to the jump rings and your candy corn bracelet is complete!
I hope you’ll give this candy corn bracelet a try! It’s so cute that it’s definitely worth the time and effort to make. You can even modify the steps a bit to create a matching Halloween necklace and earrings. With this kind of arm candy, you’ll be sure to get all the sweet treats you desire this Halloween candy grabbin’ season!


